
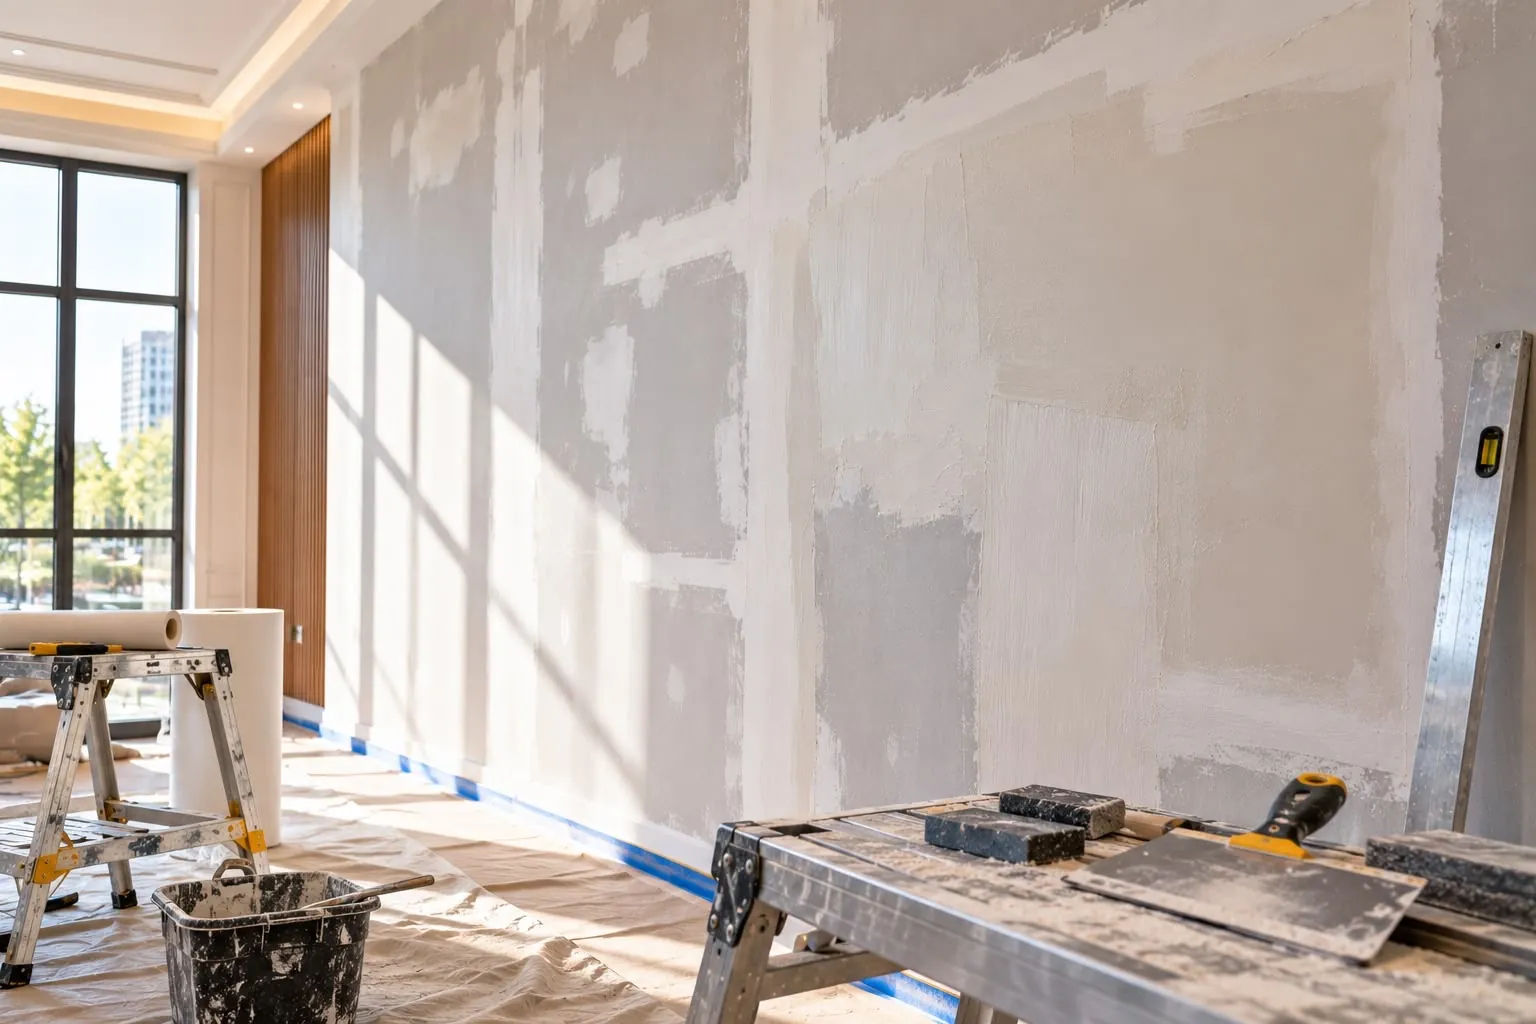
The wall under the paper decides how the paper looks — and how long it stays up. We repair, smooth and prime walls so seams sit flat, patterns read clean and future removal is easy.
Why prep matters more than the paper
Wallpaper shows everything underneath it. Dents, nail pops, ridges from old tape joints and wall texture all show through, especially on thin papers, metallics and murals. Glossy paint and dusty walls make the paste slip; unprimed drywall bonds too well and tears when the paper comes off years later. Proper prep fixes all of that before a single strip goes up.
What we do
- Drywall repair: holes, dents, cracks, nail pops and torn drywall paper after removal.
- Plaster repair: cracks and loose areas in older plaster walls, common in early-1900s homes in Seattle.
- Skim coating: thin coats of joint compound over orange peel, knockdown and uneven patches, sanded smooth.
- Sanding and dust control: walls cleaned of dust so primer and paste bond.
- Wallcovering primer: chosen for the paper and the wall — some are tinted to keep seams from flashing white, some block stains, some seal damaged drywall.
Do textured walls need a skim coat?
Many Puget Sound homes built from the 1980s on have orange peel or knockdown texture. Heavy, textured or dark papers can hide light orange peel; thin papers, metallics, silks and murals will not. We show you where texture will read through and give you the choice. Our guide to skim coating before wallpaper explains the process step by step.
Moisture and problem walls
Bathrooms, exterior walls and basements can hold moisture, which leads to bubbles, mold or loose seams. We check walls that feel damp or show staining and recommend fixing the source first — a bathroom fan, a leak or a missing vapor barrier — before wallpaper goes up.
What is included
- Hole, crack and dent repair
- Torn drywall sealed
- Plaster repair
- Skim coat over texture
- Sanding and dust removal
- Wallcovering primer suited to the paper
- Moisture and stain check
Wall preparation for wallpaper: how we assess and plan the surface
Wall preparation is the part of a wallpaper project most people never see, and the part that decides how the finished wall looks up close. The right amount of prep is not the same for every room. It depends on the wall material, its current finish, the paper going on it, and the light in the room. This section explains how we judge a wall, what each level of preparation involves, and how you can check your own walls before sending photos.
How to check your walls before you send photos
A few simple checks show most of what we look for:
- Raking light test. Hold a flashlight flat against the wall in a darkened room and shine it across the surface. Bumps, ridges, joint lines and texture will cast shadows.
- Touch test. Run your hand over the wall. Chalky residue means the paint or surface is dusty and needs cleaning and priming.
- Sheen check. Glossy or semi-gloss paint reflects strongly. Paste does not grip it well without the right primer.
- Tape test. Press painter's tape firmly onto the wall and pull it off quickly. If paint comes with it, the existing finish is not bonded well enough to hold wallpaper.
- Look for stains. Water marks, smoke staining or marker can bleed through light papers if not sealed.
Photograph the wall with raking light if you can. It shows texture and defects far better than a straight-on photo.
Levels of preparation
We describe the scope in your estimate in plain terms. In general, wall preparation falls into one of these levels:
| Wall condition | Typical preparation | Papers it suits |
|---|---|---|
| Smooth, sound, flat or eggshell paint | Clean, spot-patch, wallcovering primer | Most papers, including thin prints |
| Glossy paint or kitchen and bath walls | Clean, degloss, bonding wallcovering primer | Most papers, especially vinyl and washable types |
| Light texture, small dings | Patching, sanding, primer; skim coat if the paper is thin | Heavier or textured papers without a skim coat |
| Heavy texture or uneven patches | Full skim coat, sanding, primer | Required for murals, metallics, silks and fine prints |
| Torn drywall face or water damage | Seal with a stain-blocking primer, repair, sand, prime | Any paper once the surface is sound and dry |
Choosing the paper and the prep together
The paper you choose changes how much the wall has to be corrected. A dark, matte, heavily textured wallcovering can hide small imperfections. A pale paper with a fine print, a metallic or a large mural shows almost everything. Grasscloth and other natural fibers hide surface texture but need a primer that will not show through thin areas of the weave. If you are still choosing, ask us how a sample will behave on your wall before you order. The comparison in our guide to mural versus repeating wallpaper is useful here, and our pages on wall mural installation and grasscloth installation cover material-specific prep.
New construction and remodel walls
New drywall is not automatically ready for wallpaper. Builders usually finish drywall for paint, and joint lines, sanding marks and slight ridges that disappear under flat paint can show under paper. Fresh joint compound and new paint also need time to cure before primer and paste go on. For contractors and designers, the most useful thing is to tell us early which walls will receive wallpaper, so the drywall finish, primer and schedule can be planned for it rather than corrected afterward.
Tip: if a painter is working in the room before us, ask them not to paint the walls that will be papered with a glossy finish. A flat or eggshell base, or bare primed drywall, is easier to prepare for wallpaper.
How preparation fits into the schedule
- Assessment from photos, or a visit when the wall condition is unclear.
- Room protection and removal of covers, fixtures and any old wallpaper.
- Repairs: patching, sealing torn areas and fixing cracks.
- Skim coat where needed, with drying time between coats.
- Sanding, dust removal and a final check with raking light.
- Wallcovering primer, allowed to dry fully before installation.
Drying time depends on the coats applied and indoor conditions. Damp, cool weather in the Puget Sound area can slow drying, especially in rooms without heat or ventilation. Our guide on how long wallpaper installation takes shows how prep affects the overall timeline.
When the wall has old wallpaper on it
If there is existing paper, it comes off before any preparation begins. Our wallpaper removal service includes washing off the adhesive, which matters because leftover paste interferes with primer and new paste. The condition of the wall after removal often decides the prep level, so we plan both together. In many rooms, the full scope is only clear once the old paper is off, and we explain any change in the preparation before continuing.
Preparation for ceilings, stairwells and commercial walls
Ceilings show defects in a different way than walls, because light from windows travels across them at a low angle. Stairwells and tall entries need staging for both prep and installation, so the work is planned as one sequence. In offices and retail spaces, walls often take more impact and may need extra patching and a primer suited to commercial wallcoverings. The same assessment applies: we look at the surface, the material and the light, then set the prep level.
What to send for a wall preparation estimate
- Photos of each wall, straight-on and with a flashlight held flat across the surface
- Close-ups of cracks, stains, holes or texture
- Wall widths and ceiling height
- The wallpaper you plan to install, with a link or product name
We review the wall condition and material, visit if needed and send a written estimate that lists the preparation included. Send your photos, measurements and wallpaper details through our contact page or call (206) 380-4118, every day from 7 am to 10 pm.
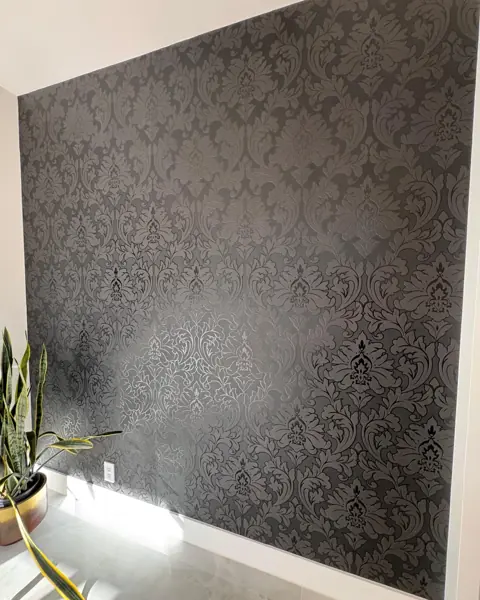
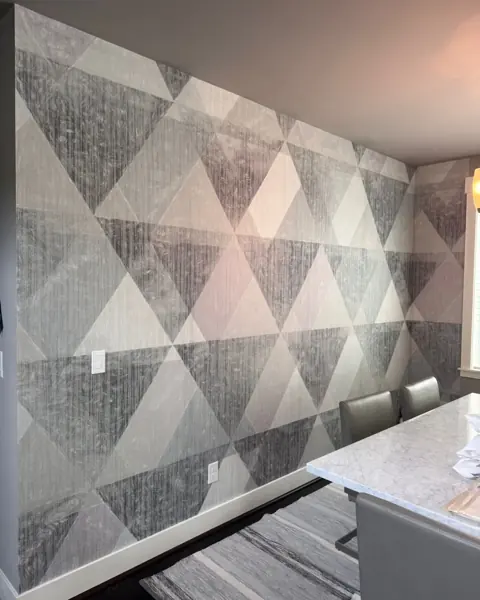
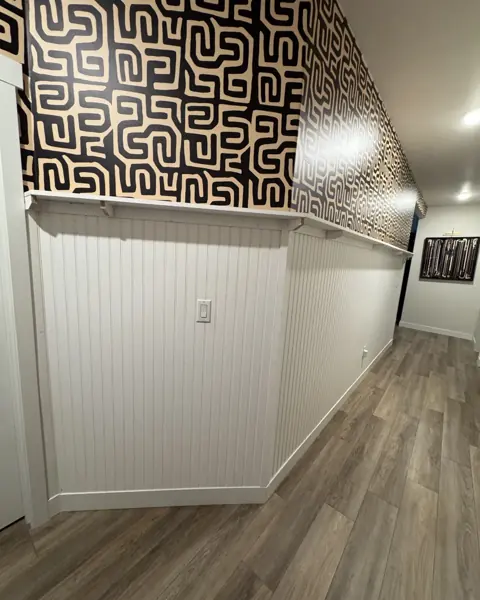
Recent projects
Questions about wall preparation
Can you wallpaper over orange peel texture?
Light orange peel can work under thicker papers, but it shows through thin, shiny or mural papers. A skim coat gives the smoothest result.
Is primer really necessary under wallpaper?
Yes, in almost every case. A wallcovering primer helps paste grip, gives time to align seams and makes future removal easier without damaging drywall.
How long does a skim coat add to the project?
Usually one to two extra days for coats, drying and sanding, depending on the size of the area and the weather.
Can wallpaper go over paneling or tile?
Wood paneling and tile have grooves and grout lines that show through wallpaper, so they need to be filled or covered with a liner or skim coat first. Send photos and we will review whether the surface can be prepared or should be replaced.
Do you prepare walls that will be painted instead of wallpapered?
Our wall preparation is planned for wallpaper. When we remove wallpaper, we can repair and prime the walls so they are ready for your painter.
How soon after new drywall or paint can wallpaper be installed?
Joint compound and paint need to cure before primer and paste go on, and the time depends on the products and indoor conditions. We confirm the timing when we review your project.
Helpful guides
Local pages
Where we offer wall preparation
Seattle and surrounding cities: